Behind the Scenes
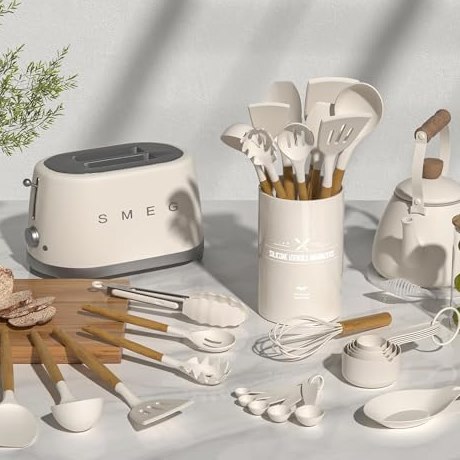
How Silicone Kitchen Tools Are Actually Made
From raw polymer to your utensil crock: compounding, steel cores, post-curing and the invisible corners cheap tools cut, plus the five-second store tests that expose them.

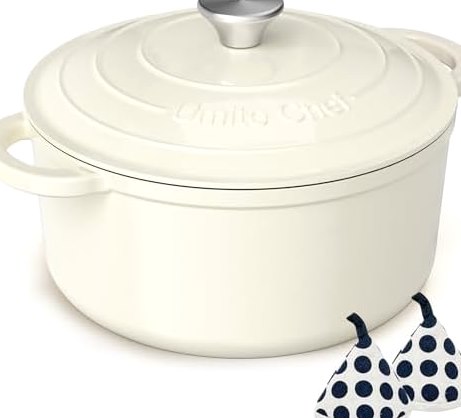
Enameled cast iron is the rare kitchen purchase that can genuinely outlive you. There are pots from the 1960s braising dinners right now. It's also surrounded by more folklore than any other cookware: seasoning rituals it doesn't need, soap phobias that don't apply, and a fear of damage that keeps beautiful pots in cupboards. This is the complete, myth-free care guide for an enameled dutch oven: what the material actually wants, the one thing it truly fears, and the five-minute habits that turn a $40 pot into a decades-long companion.
Bare cast iron is porous metal that rusts on contact with water and relies on seasoning, layers of polymerized oil — as its protective skin. Enameled cast iron takes the same heavy, heat-loving iron body and fuses a layer of glass to it at around 1,500°F. That glass coat rewrites the care rules completely: nothing touches the iron, so nothing rusts; the surface is non-reactive, so tomato sauce and wine braises are welcome; and there is no seasoning to build or protect, so soap is completely fine.
Every "never use soap on cast iron" warning you've absorbed applies to bare iron and its seasoning layer. On enamel, soap is just soap. What the glass layer asks for instead is respect for one physical fact: it's glass. Thin, extremely tough, fused-to-metal glass, but glass, with glass's one enemy.
Glass and iron expand at different rates when heated. The enameling process accounts for gradual change, but a sudden temperature swing makes the layers fight each other, and the glass loses: first as hairline crazing, eventually as a chip. Nearly every cracked enamel pot died the same way: cold water into a hot pot, or a screaming-hot empty pot dropped into a cold sink.
The same physics sets the heating rule: start medium, not maximum. Cast iron holds heat so well that it doesn't need a violent preheat. Our 5QT dutch oven on medium reaches searing temperature in a few minutes and holds it more evenly than thin pans ever will. Empty preheating on high is where stovetop chips are born.
For the everyday after-dinner case: let the pot cool, then warm water, a drop of dish soap and a soft sponge. The smooth glaze releases most residue with a wipe: that's the "naturally non-stick" behavior of glass, no seasoning required. Two tools never to use: metal scouring pads and steel wool, which scratch the gloss and dull it permanently. The scrubby side of a standard sponge is as aggressive as enamel ever needs.
For stuck-on fond after a hard sear, don't scrub, simmer. An inch of water and a spoonful of baking soda, five minutes of gentle heat, and a wooden or silicone spatula lifts everything without a fight. This works on disasters that look terminal: burnt sugar, scorched rice, blackened braise reductions.
| Situation | Do this | Never this |
|---|---|---|
| Everyday residue | Cool, then soap + soft sponge | Scouring pads, steel wool |
| Stuck-on fond | Simmer water + baking soda 5 min | Chiseling with metal tools |
| Stains & discoloration | Baking-soda paste overnight, or 1:3 bleach-water soak | Abrasive powders |
| Exterior grease film | Warm soapy soak, nylon brush | Oven cleaner sprays |
| White mineral film | Wipe with diluted vinegar | Ignoring it (it builds) |
After months of bread and braises, cream-colored enamel interiors develop amber staining. This is surface patina on the glass: cosmetic, harmless, and optional to remove. If it bothers you, a paste of baking soda left overnight lifts most of it; for deeper staining, an occasional soak with a tablespoon of bleach in a full pot of water restores the original color (rinse thoroughly, then wash normally: remember, there's no seasoning to protect). Plenty of cooks skip all this and wear the patina as mileage. Either answer is correct.
A stained enamel interior is a driving log, not a defect. Clean it if you like the showroom look; cook on it if you don't care. The pot performs identically either way.
The rim. On most enameled pots (ours included) the rim edge is the one area of exposed or thinly coated iron: it's where the pot hung during enameling. After washing, run a towel around the rim, and once a month wipe it with a drop of cooking oil. That thirty-second habit is the difference between a clean rim and a rusty ring at year five.
The lid seal. The machined mating surface of pot and lid is what makes an airtight lid airtight: it deserves the same towel-dry. Store the pot with the lid slightly ajar, or with a folded towel between rim and lid, so trapped moisture never sits against the seal. The cotton potholders that ship with our dutch oven double perfectly as a storage spacer, which is not an accident.
Inside the pot, silicone and wood are the peacekeepers. The same logic as our materials comparison on the home page: metal spoons won't destroy enamel the way they destroy nonstick, but every metal scrape is a tiny scratch the gloss doesn't need. A steel-cored silicone spoon stirs a six-hour ragù without leaving a mark.
In the oven, the pot itself is happy at any braising or bread temperature. The practical ceiling is usually the lid knob on other brands; our stainless handles and knob clear normal bread-baking temperatures — 450°F no-knead loaves included. Going in and out of the oven, dry potholders always: wet fabric turns to steam against 450°F iron instantly, and that burn arrives faster than any pot chip ever will.
No-knead bread is the reason half of all dutch ovens get bought, and it's also the most demanding thing an enameled pot regularly does: a long empty preheat at 450°F, a violent temperature event when cold dough hits hot iron, and flour scorching against the base for forty-five minutes. The pot is built for it, but three habits keep bread day from aging the enamel faster than a decade of stews.
Preheat with the lid on, and give it time instead of temperature. The empty-pot preheat is legitimate for bread, but it should happen inside the heating oven, riding up gradually with it: never on a stovetop burner, where one spot of the base takes all the energy. Thirty minutes at temperature is enough; an hour buys nothing but wear.
Use parchment as the landing pad. Lowering dough on a parchment sling solves three problems at once: no dropped-dough thump against hot glass, no scorched flour cemented to the base, and no wrestling a loaf out of a 450°F pot. The parchment costs nothing and eliminates the single most violent moment in the pot's life.
Let the afterglow fade completely. A pot that just baked bread holds serious heat for the better part of an hour. That's exactly the state where a well-meaning helper runs it under the tap: the thermal-shock scenario from the top of this guide, at its highest possible stakes. Bread pots cool on the trivet until you can hold a palm against the side; then they get washed like any other night.
Maybe it's a thrift-store find, maybe it's your own pot after a chaotic season: either way, an enameled dutch oven that looks beyond saving usually isn't. Enamel doesn't degrade from neglect the way seasoning does; it just accumulates layers of evidence. Work through them in order.
Round one: the overnight soak: warm water, a generous squeeze of dish soap, and patience. Twelve hours dissolves most of what looks permanent. Round two, the simmer: water and baking soda at a gentle bubble for ten minutes, then a silicone scraper while warm (not hot). This is where carbonized food surrenders. Round three — the deep stain pass: for brown film that survived both, a 1:3 bleach-to-water soak overnight, then two thorough soap washes. The glass surface tolerates all of this indefinitely; what it wouldn't tolerate is the angle grinder approach the internet occasionally suggests.
The rim decides the verdict. Surface rust on the exposed rim wipes away with a paste of baking soda and a nylon brush, then gets its protective drop of oil. Deep, flaking rust that has crept under the enamel edge and lifted it is the one genuine end-of-life sign: a chip in the wall of a food-contact surface isn't worth cooking around at replacement prices this reasonable. Cosmetic exterior chips, by contrast, are battle scars: ugly, harmless, and arguably proof the pot has lived.
Enamel doesn't hold grudges. Twelve hours of soaking undoes what months of neglect built. The material was designed for owners who forget it sometimes.
Enameled cast iron works on every household heat source, but each one has a habit worth knowing. On gas, the classic mistake is a flame licking up the sides: it heats enamel that never sees food, discolors the exterior over time, and wastes energy. Keep the flame footprint inside the base diameter and the pot does the spreading — that's what the iron mass is for.
On induction, cast iron is the star pupil — the material is ferromagnetic, so coupling is instant and strong. Almost too strong: induction can slam heat into the base faster than the iron can distribute it, which is the one modern way to recreate old-fashioned hot-spot stress. Ramp power gradually instead of jumping straight to boost mode, and the pairing is ideal.
On glass-top electric, the concern flips from the pot to the stove: forty-plus pounds of loaded iron will crack a ceramic surface if dropped, and sliding the pot can grind grit against the glass. Lift, don't slide, set down gently, and check that the base is smooth and clean before it lands. The pot itself is indifferent; the stove is the fragile party.
In the oven and beyond, everything short of the broiler's direct element is fair game: braises at 325°F, bread at 450°F, a low hold at 200°F while guests run late. Campfire and coals technically work the way they do for bare cast iron, but open flame against enamel invites the exterior discoloration and thermal drama this guide keeps warning about; if outdoor cooking is a lifestyle, bare cast iron is the honest tool for it, and the enameled pot stays home where it reigns.
Print this section, stick it inside the cabinet door, and the whole household inherits the discipline without a lecture, which, for a pot that outlives its owners' memory of the rules, is the most practical care tool of all.
Cool before washing, always. Soap is fine, forever. Simmer stuck bits loose, never chisel. No metal scouring pads. Medium heat is all it needs. Towel-dry the rim; oil it monthly. Store with the lid cracked open. Cook with silicone or wood inside.
That's the entire discipline: less care than a wooden cutting board, for a pot that will feed people for decades. If yours is still on the way, the 5QT dutch oven comes in four kitchen-matched colors, and the potholders in the box are the first accessory of the habit. For what's happening inside the metal and glass while you cook, the story starts in how our tools are actually made.
From raw polymer to your utensil crock: compounding, steel cores, post-curing and the invisible corners cheap tools cut, plus the five-second store tests that expose them.
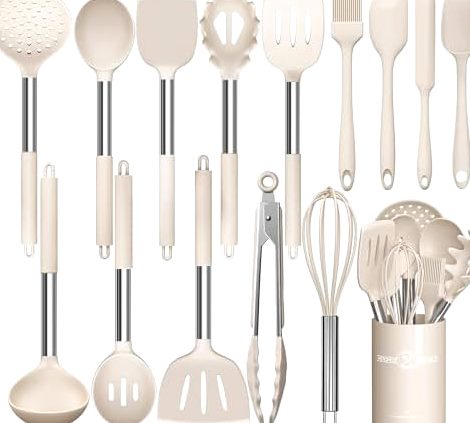
Every set size claims to be the right one. It can’t be. What each tier actually contains, who genuinely needs it, and four questions that pick your box in a minute.
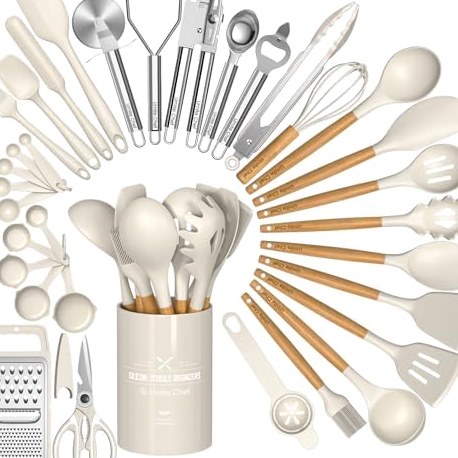
The label costs nothing to print; the chemistry behind it doesn’t. FDA standards, filler impostors, the temperature question, and a five-minute audit for your own drawer.